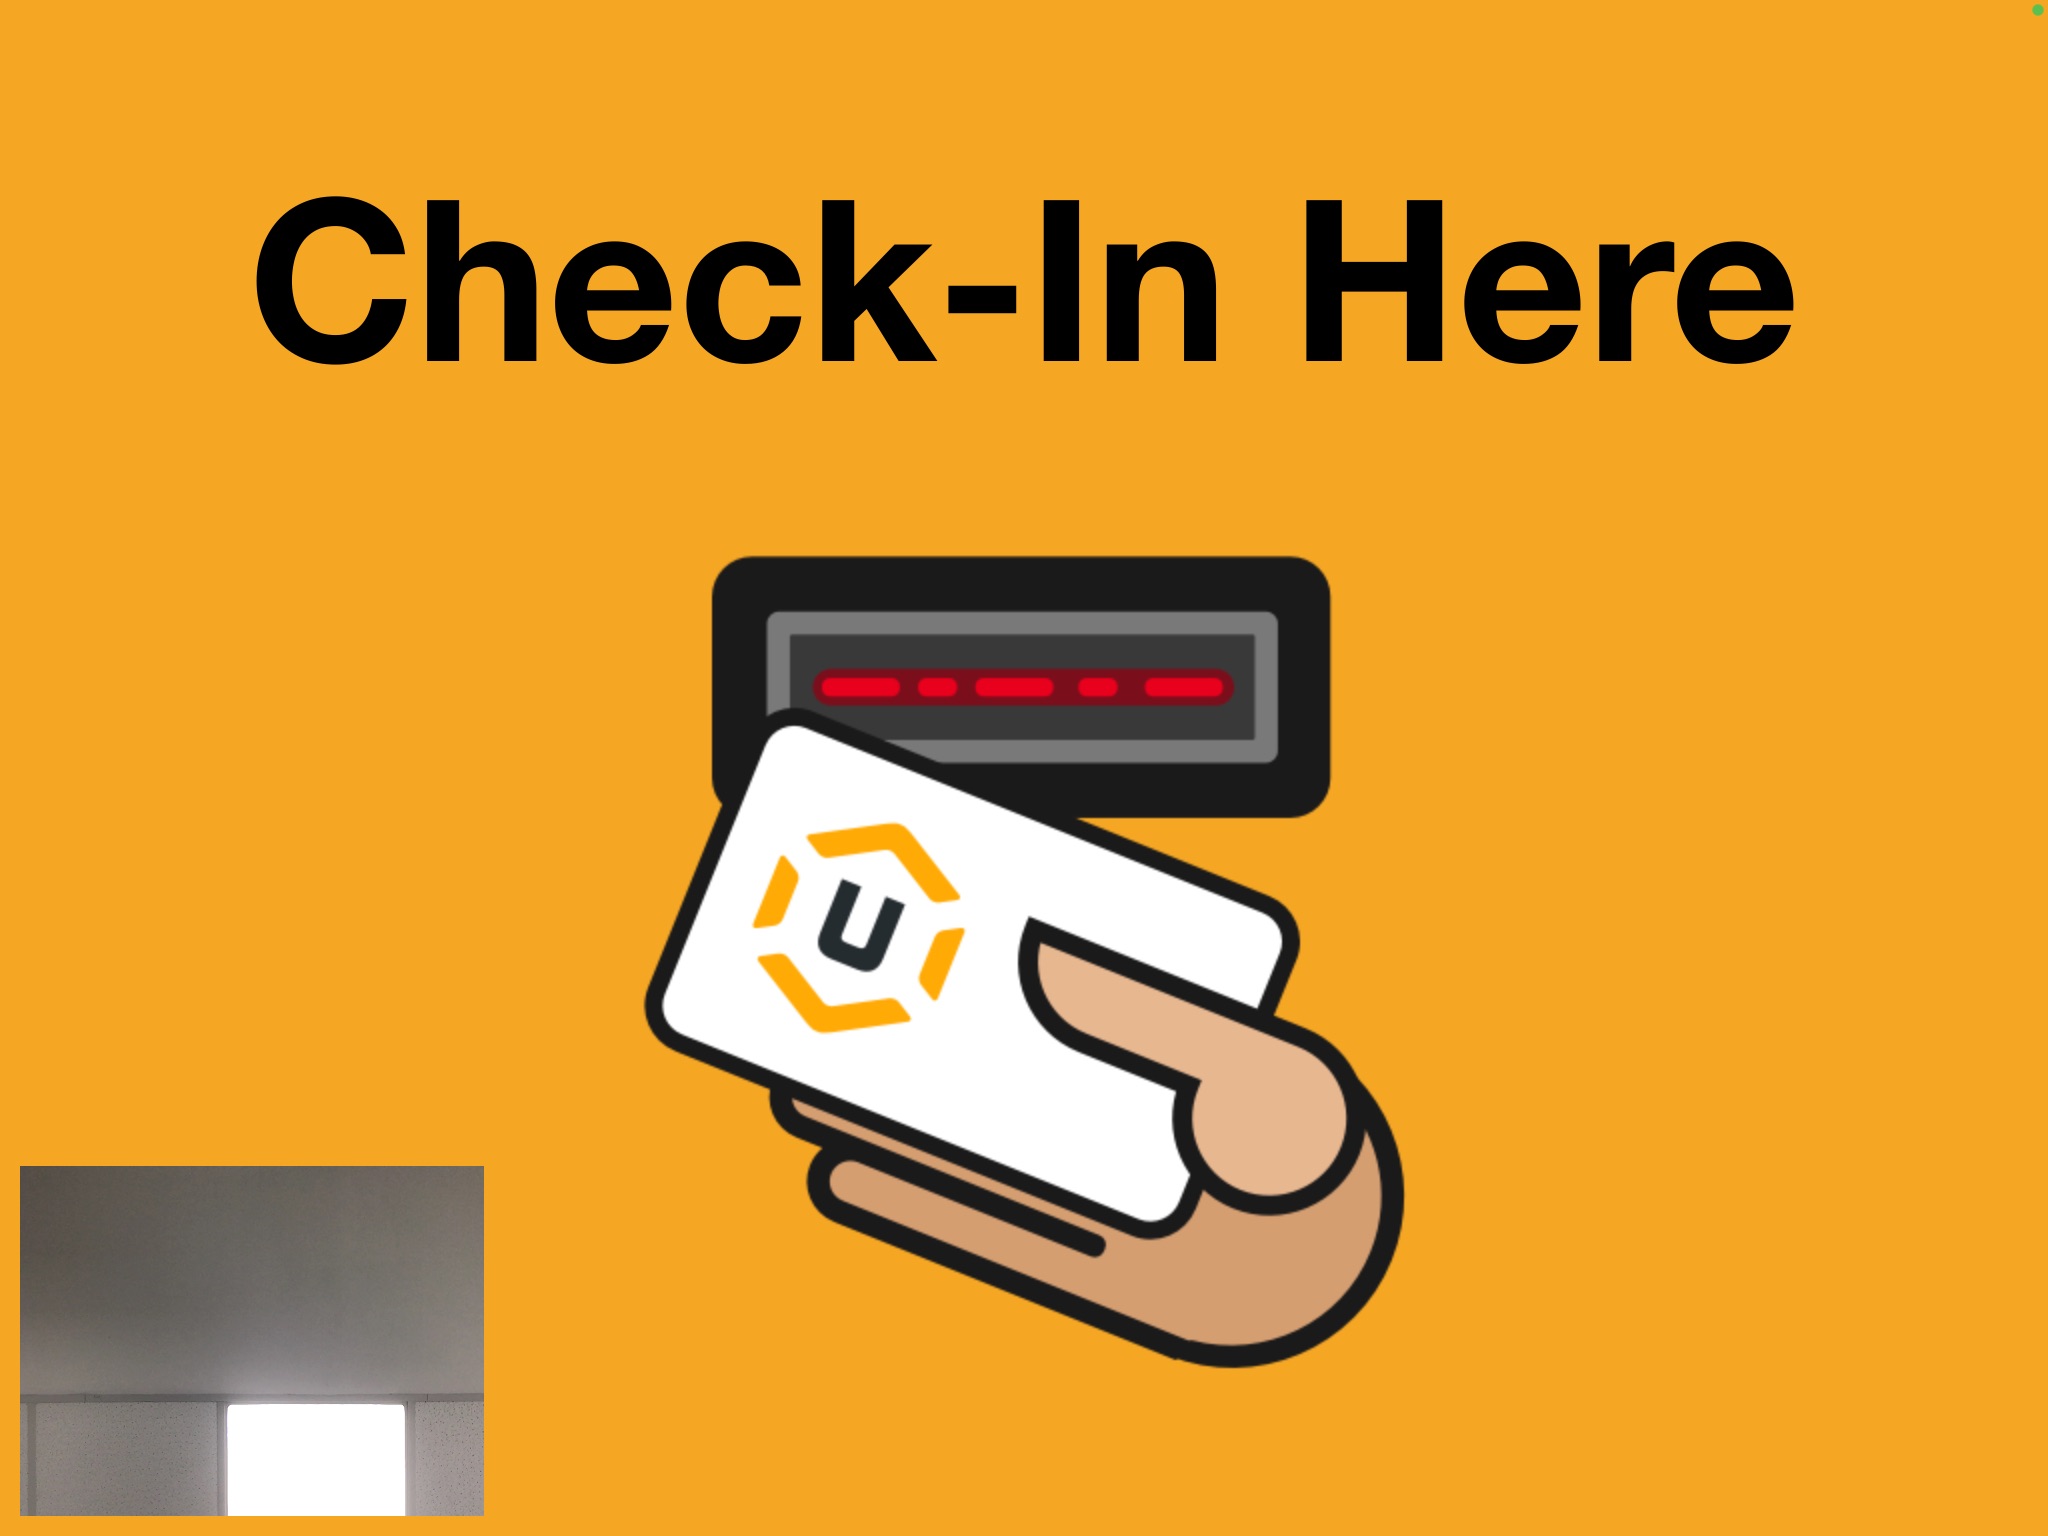
Self Check-in Setup
You will require an iCloud Account, this can be a new one just for the purpose or you can use an existing account.
Link to download the app: https://apps.apple.com/au/app/check-in-kiosk/id1176368700
Udio Set up
Terminals
- Configure self check-in by going to 'Terminals' and clicking 'Add New Terminal'
- Add the terminal location (e.g. reception, wall floor mounted, etc.)
- Ensure it's active and click 'Confirm'

iPad
You'll need to complete the setup on each individual device.
- Set up the iPad with the iCloud account, ensure the devices have the latest version of IOS.
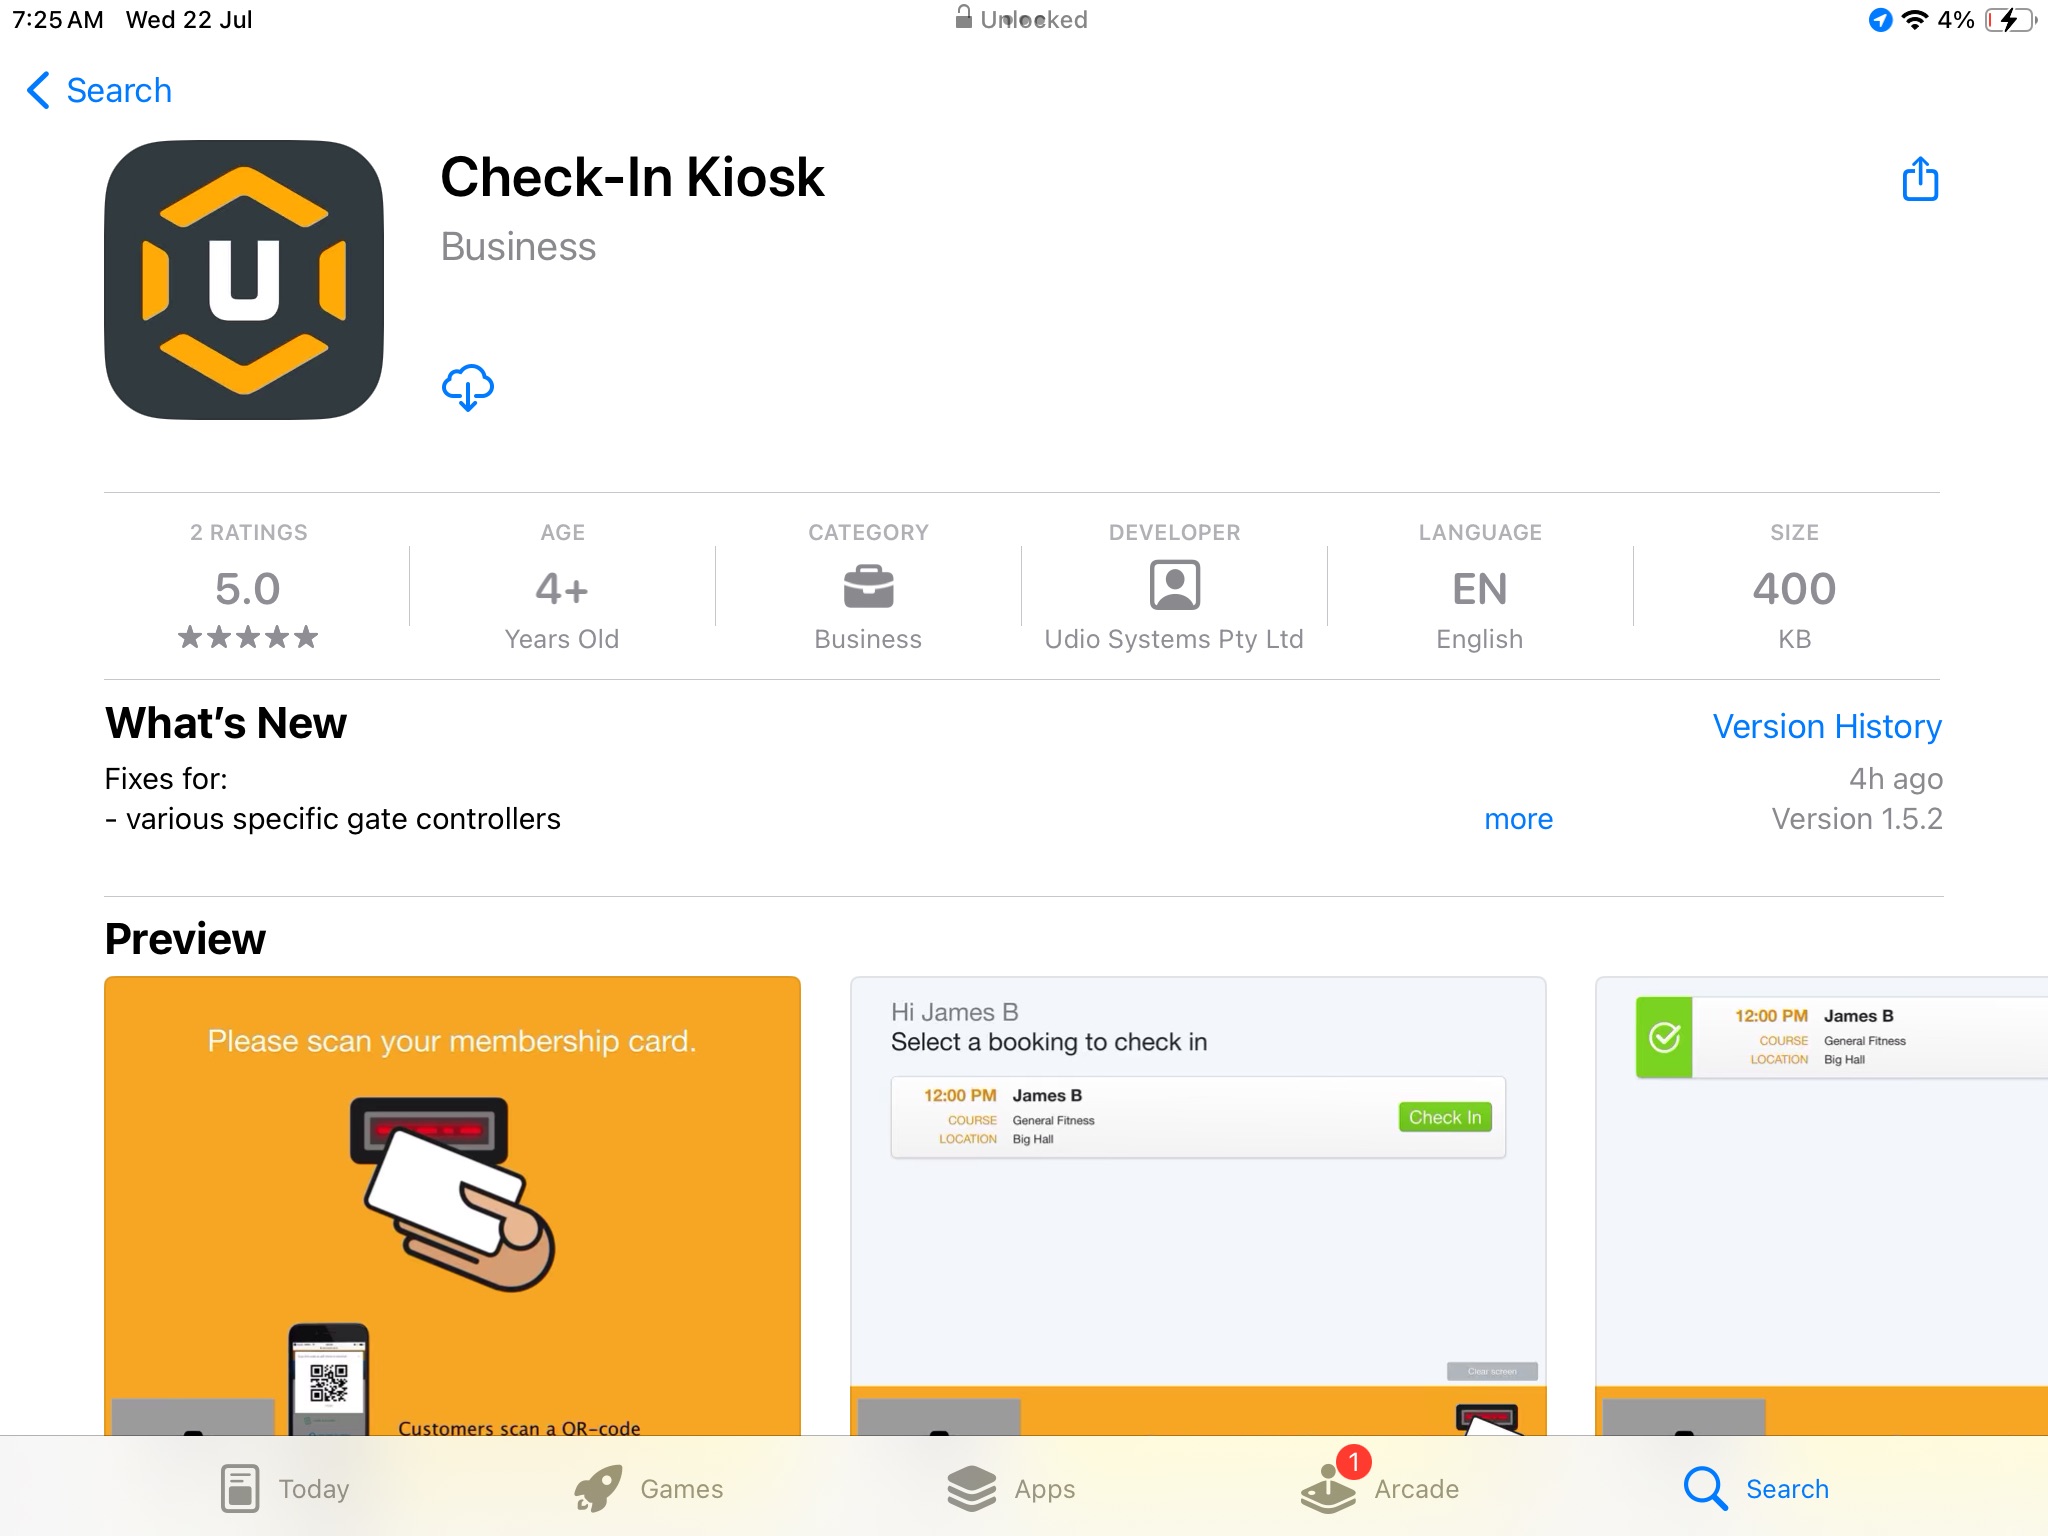
- Go to the App Store from the Device and search ‘Udio Systems’ or tap on this link to open the app directly: https://apps.apple.com/au/app/check-in-kiosk/id1176368700
- Download the app called Check-in Kiosk and has the Udio logo
- Open the Check-in Kiosk App
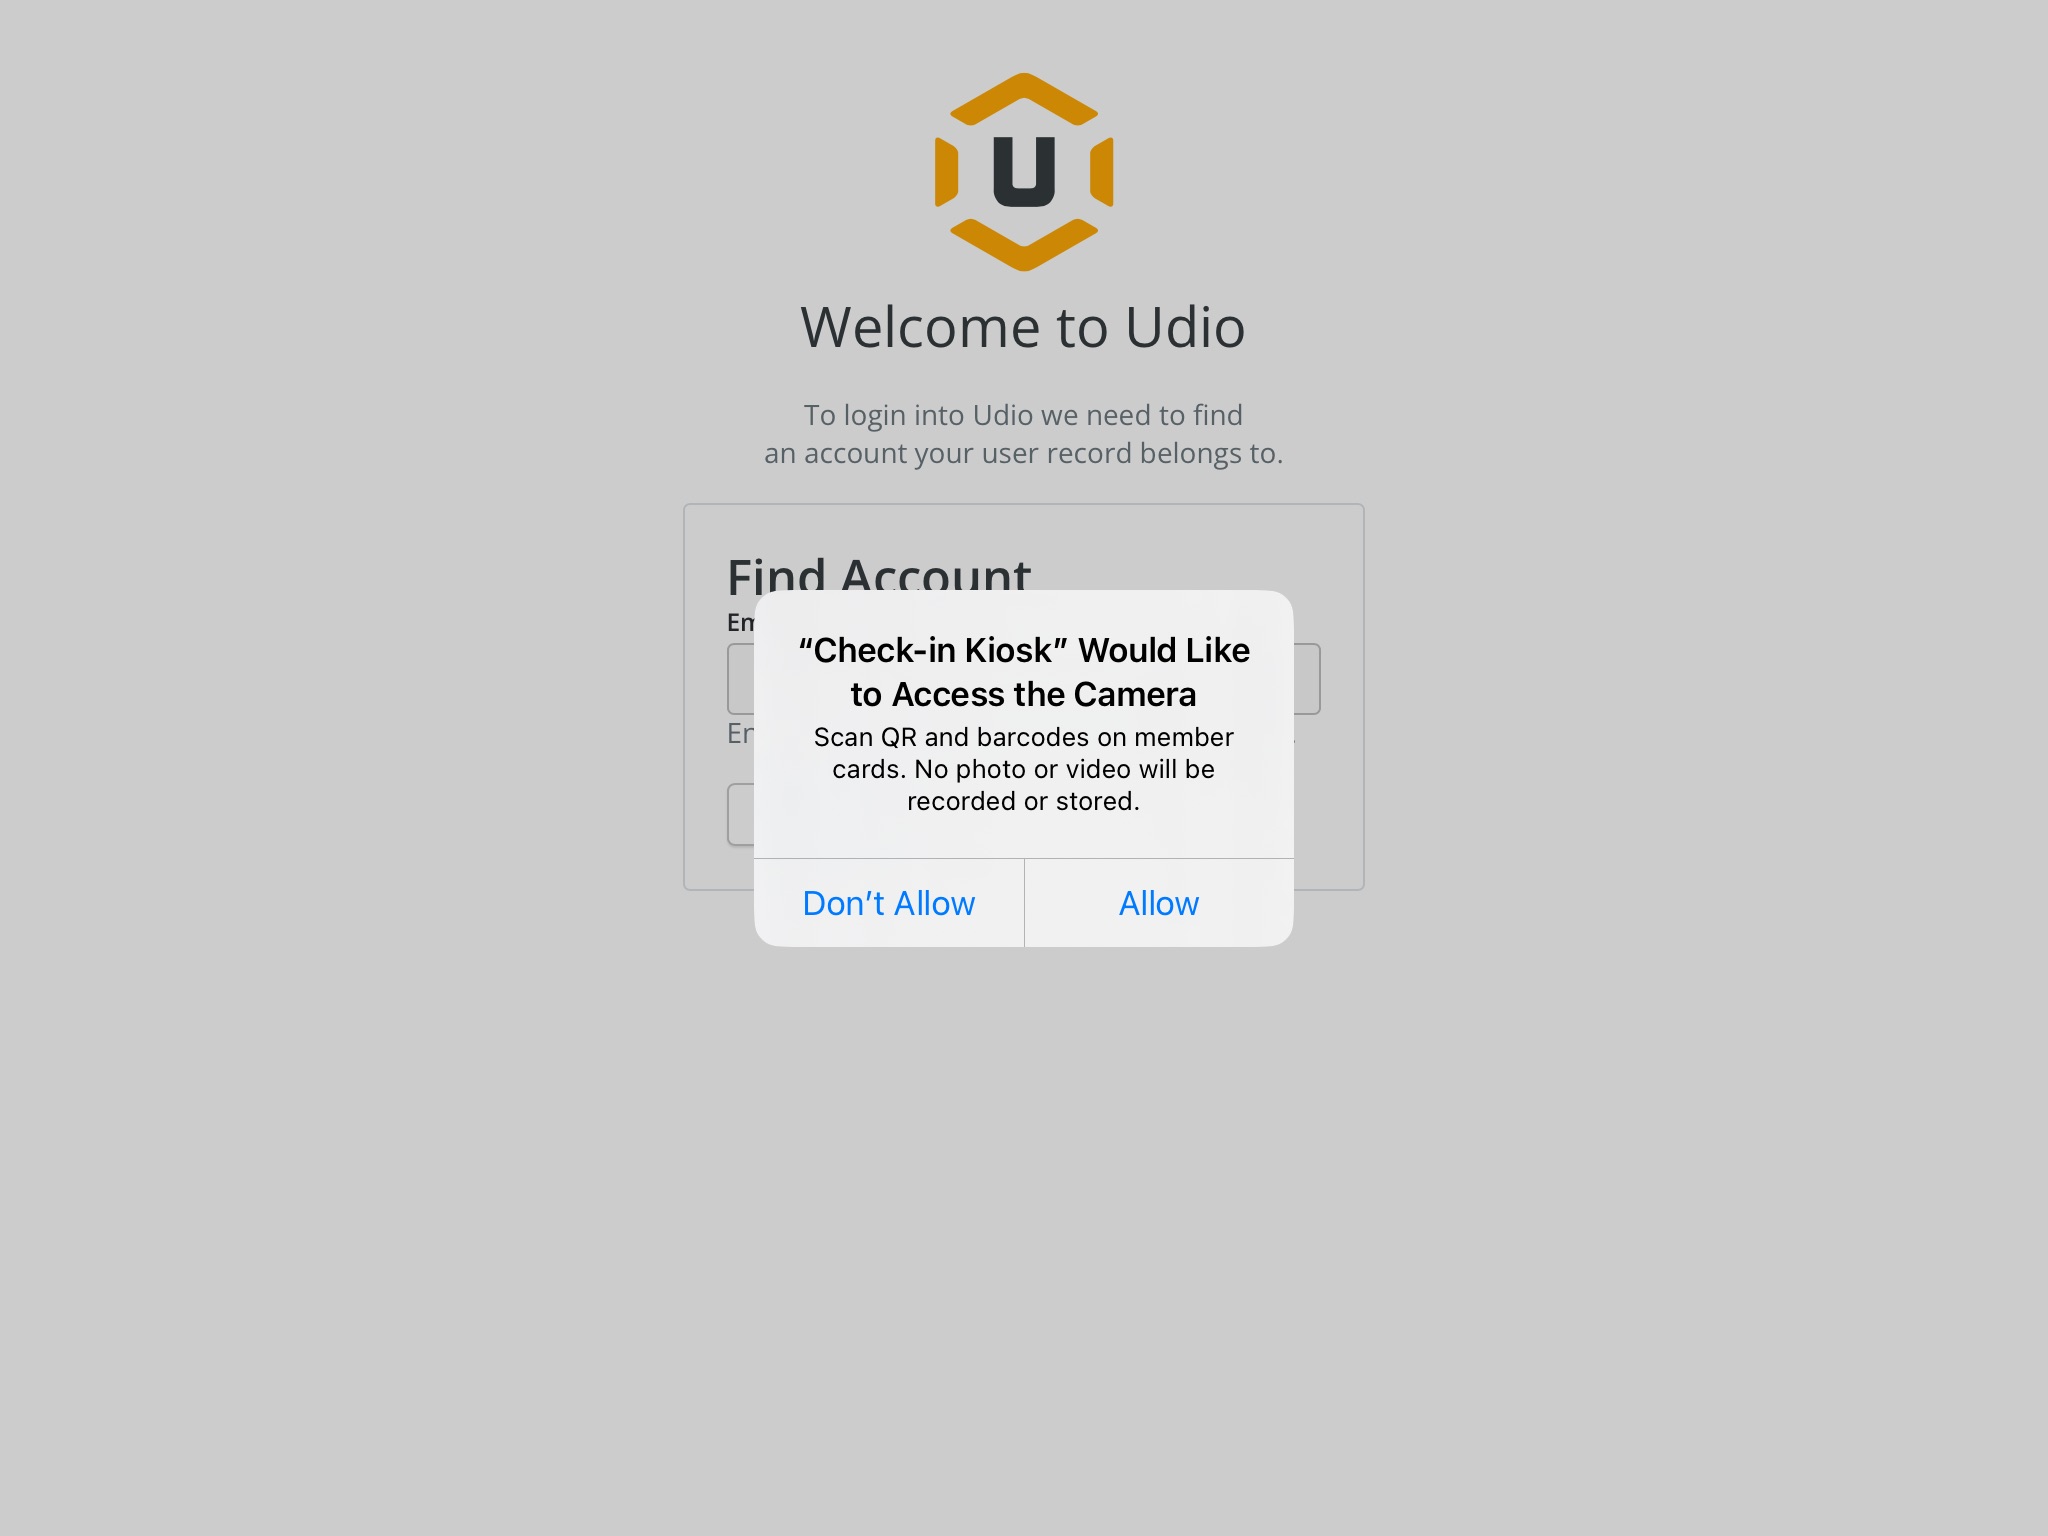
- Allow access to the camera (for scanning QR codes, it will not store or make any photos)
- Enter the email address and password of any staff member (generic reception email is the best) that can log into Udio as this is a once-off login.
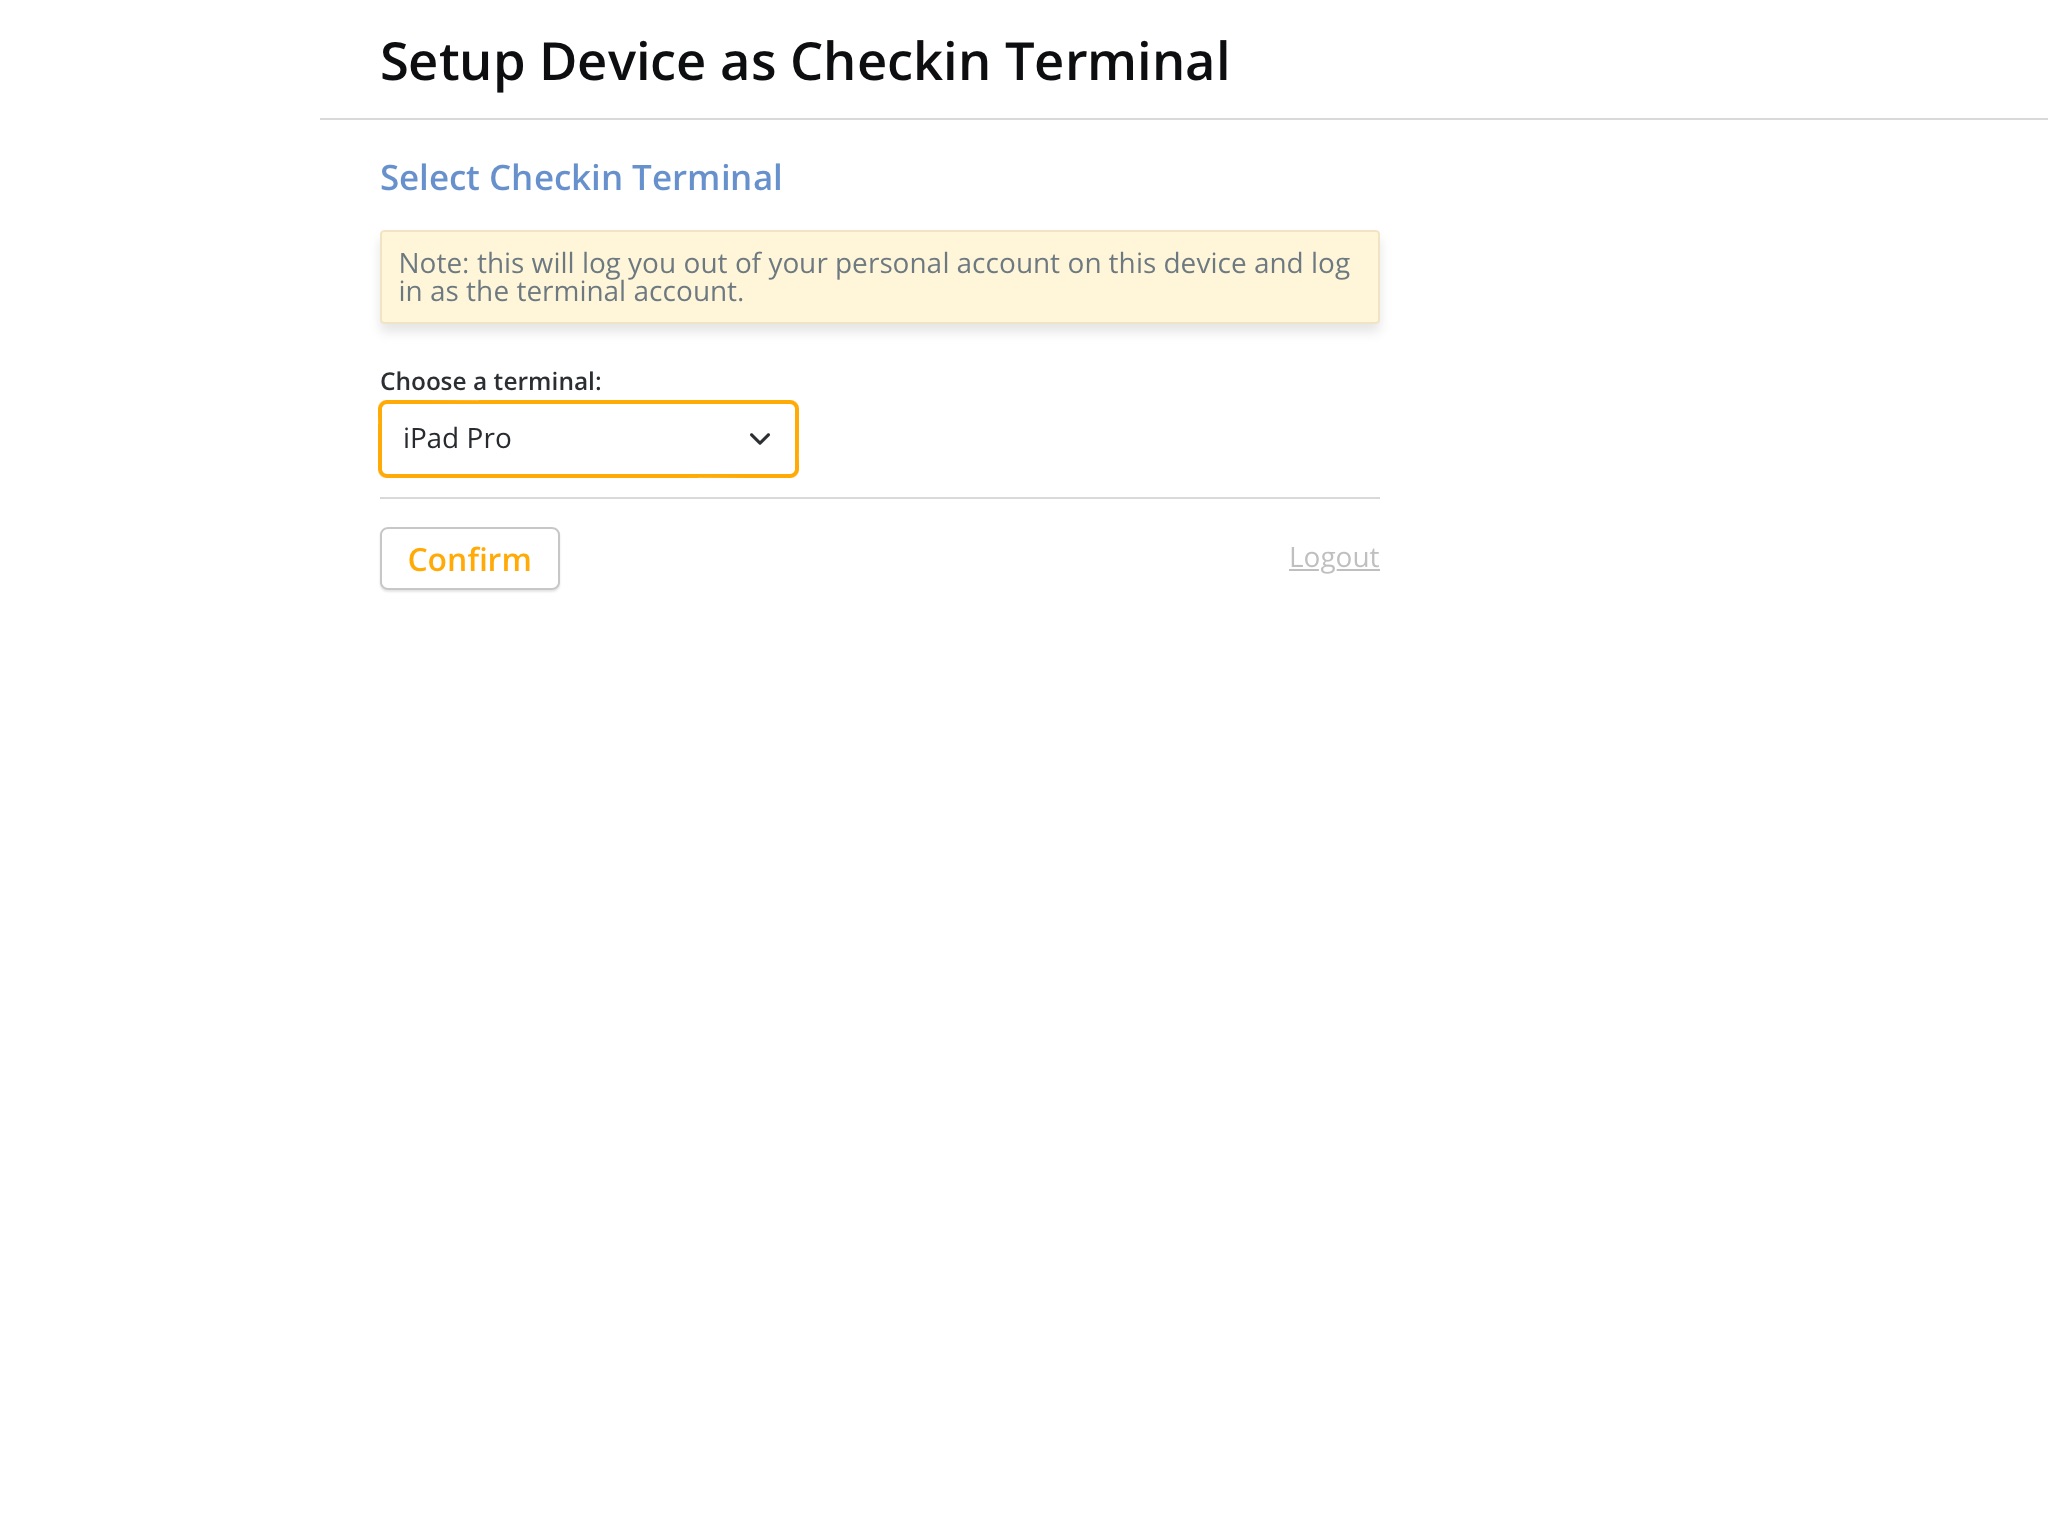
- Select the Terminal from the list and confirm selection
- You should now have the yellow scan screen and a box with the image from the front facing camera
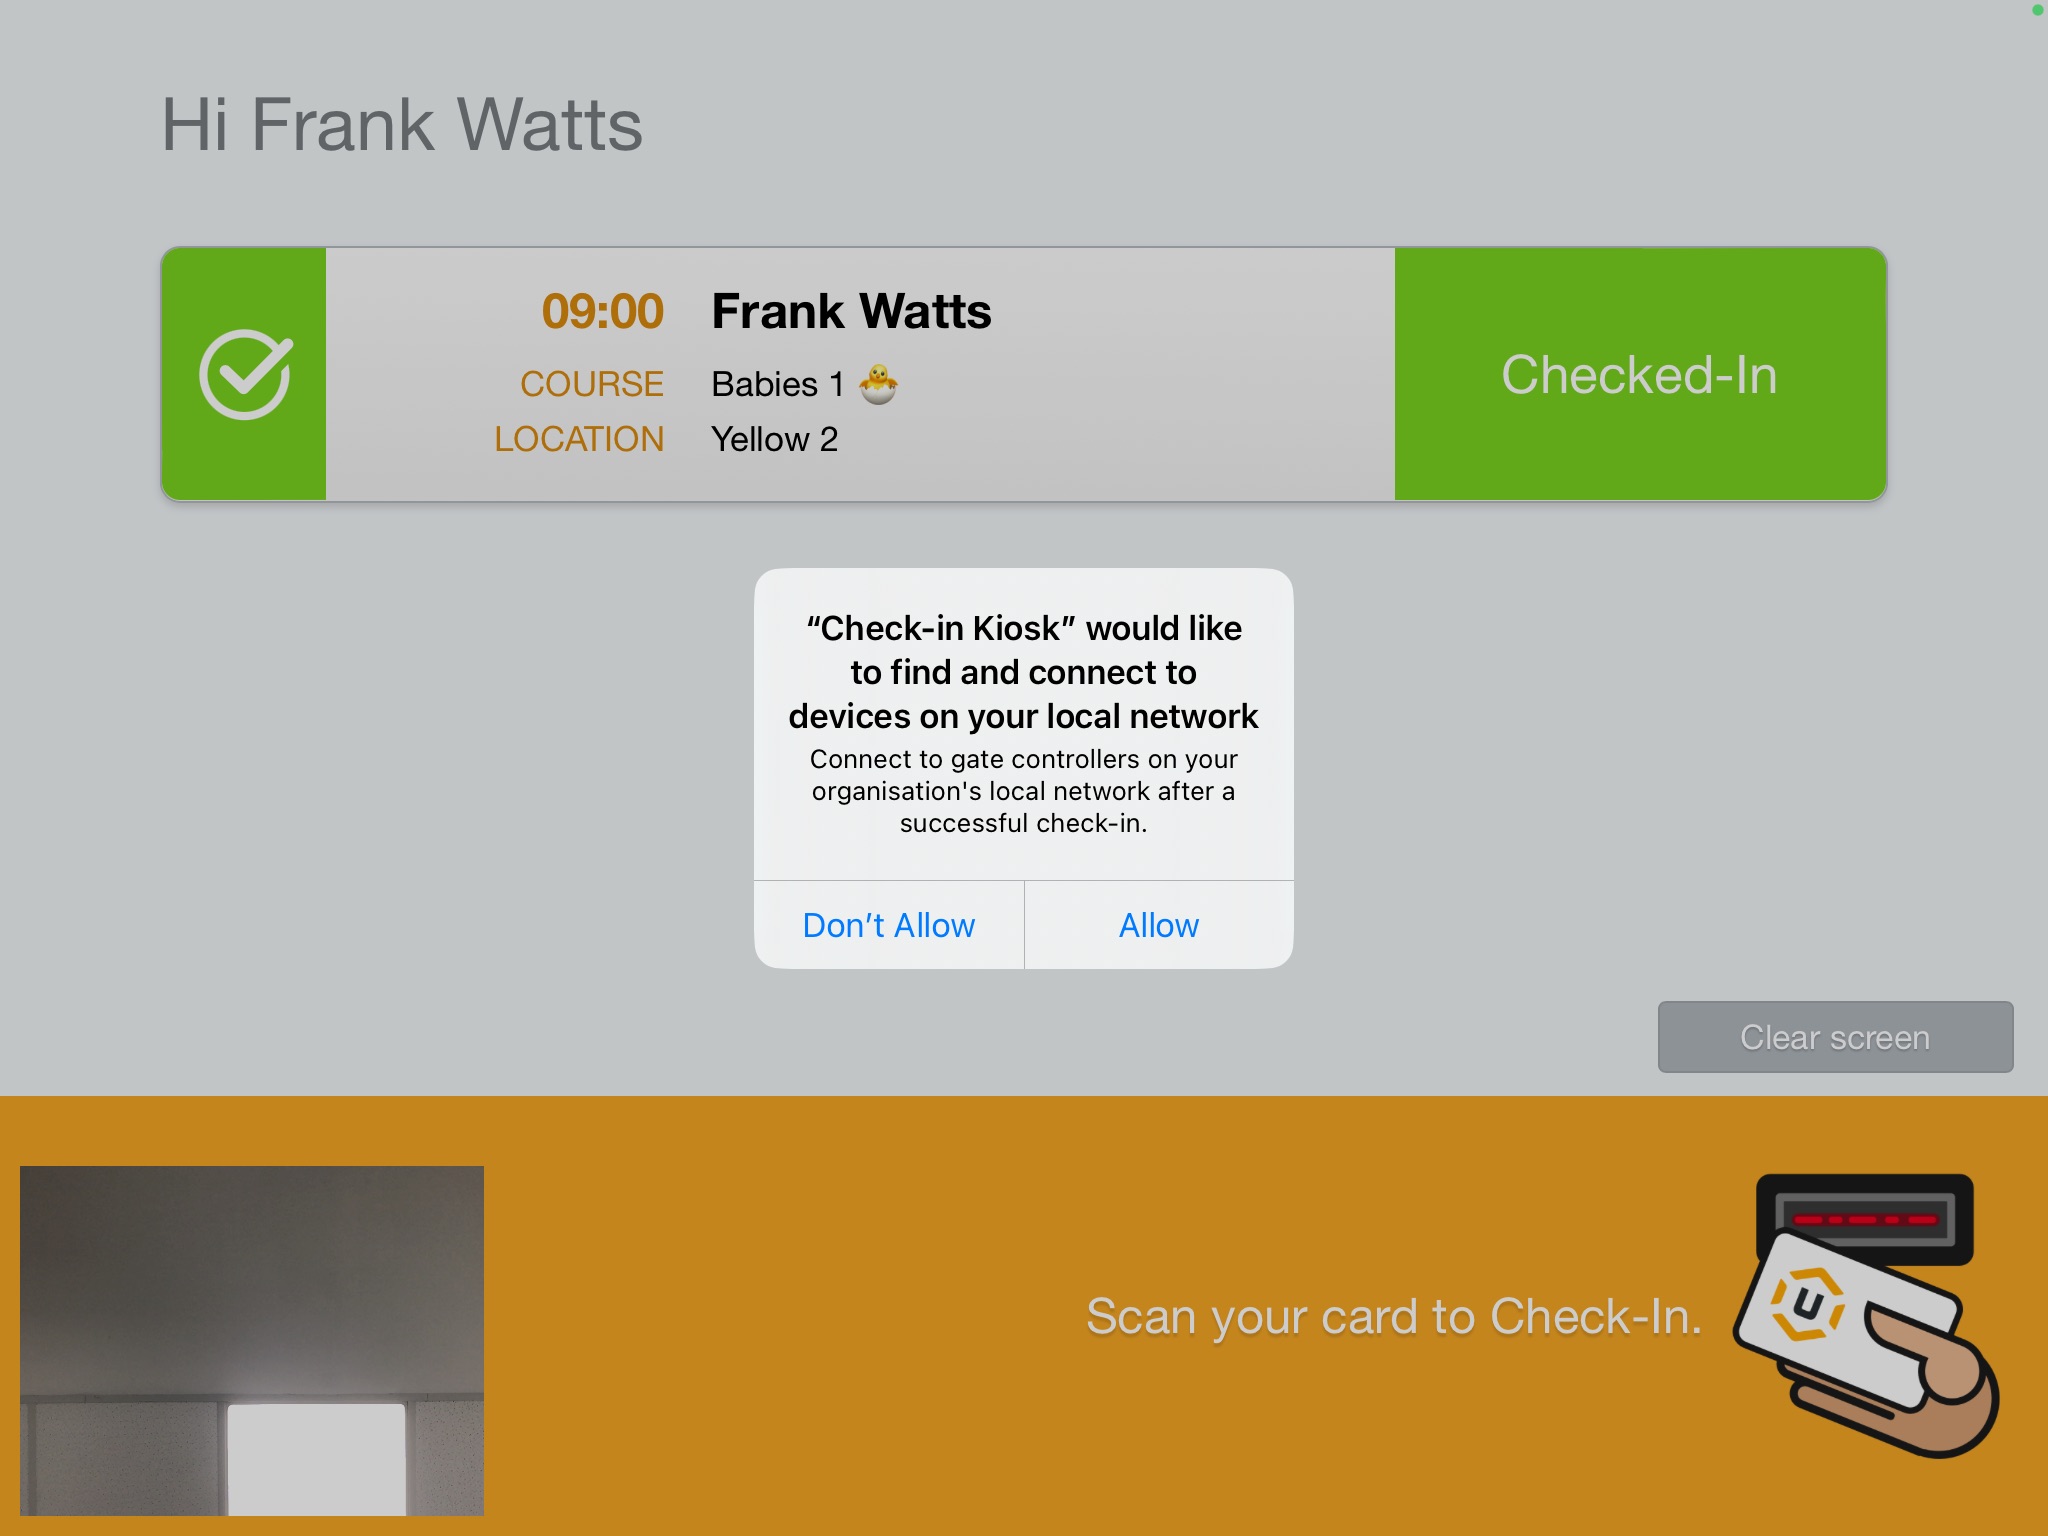
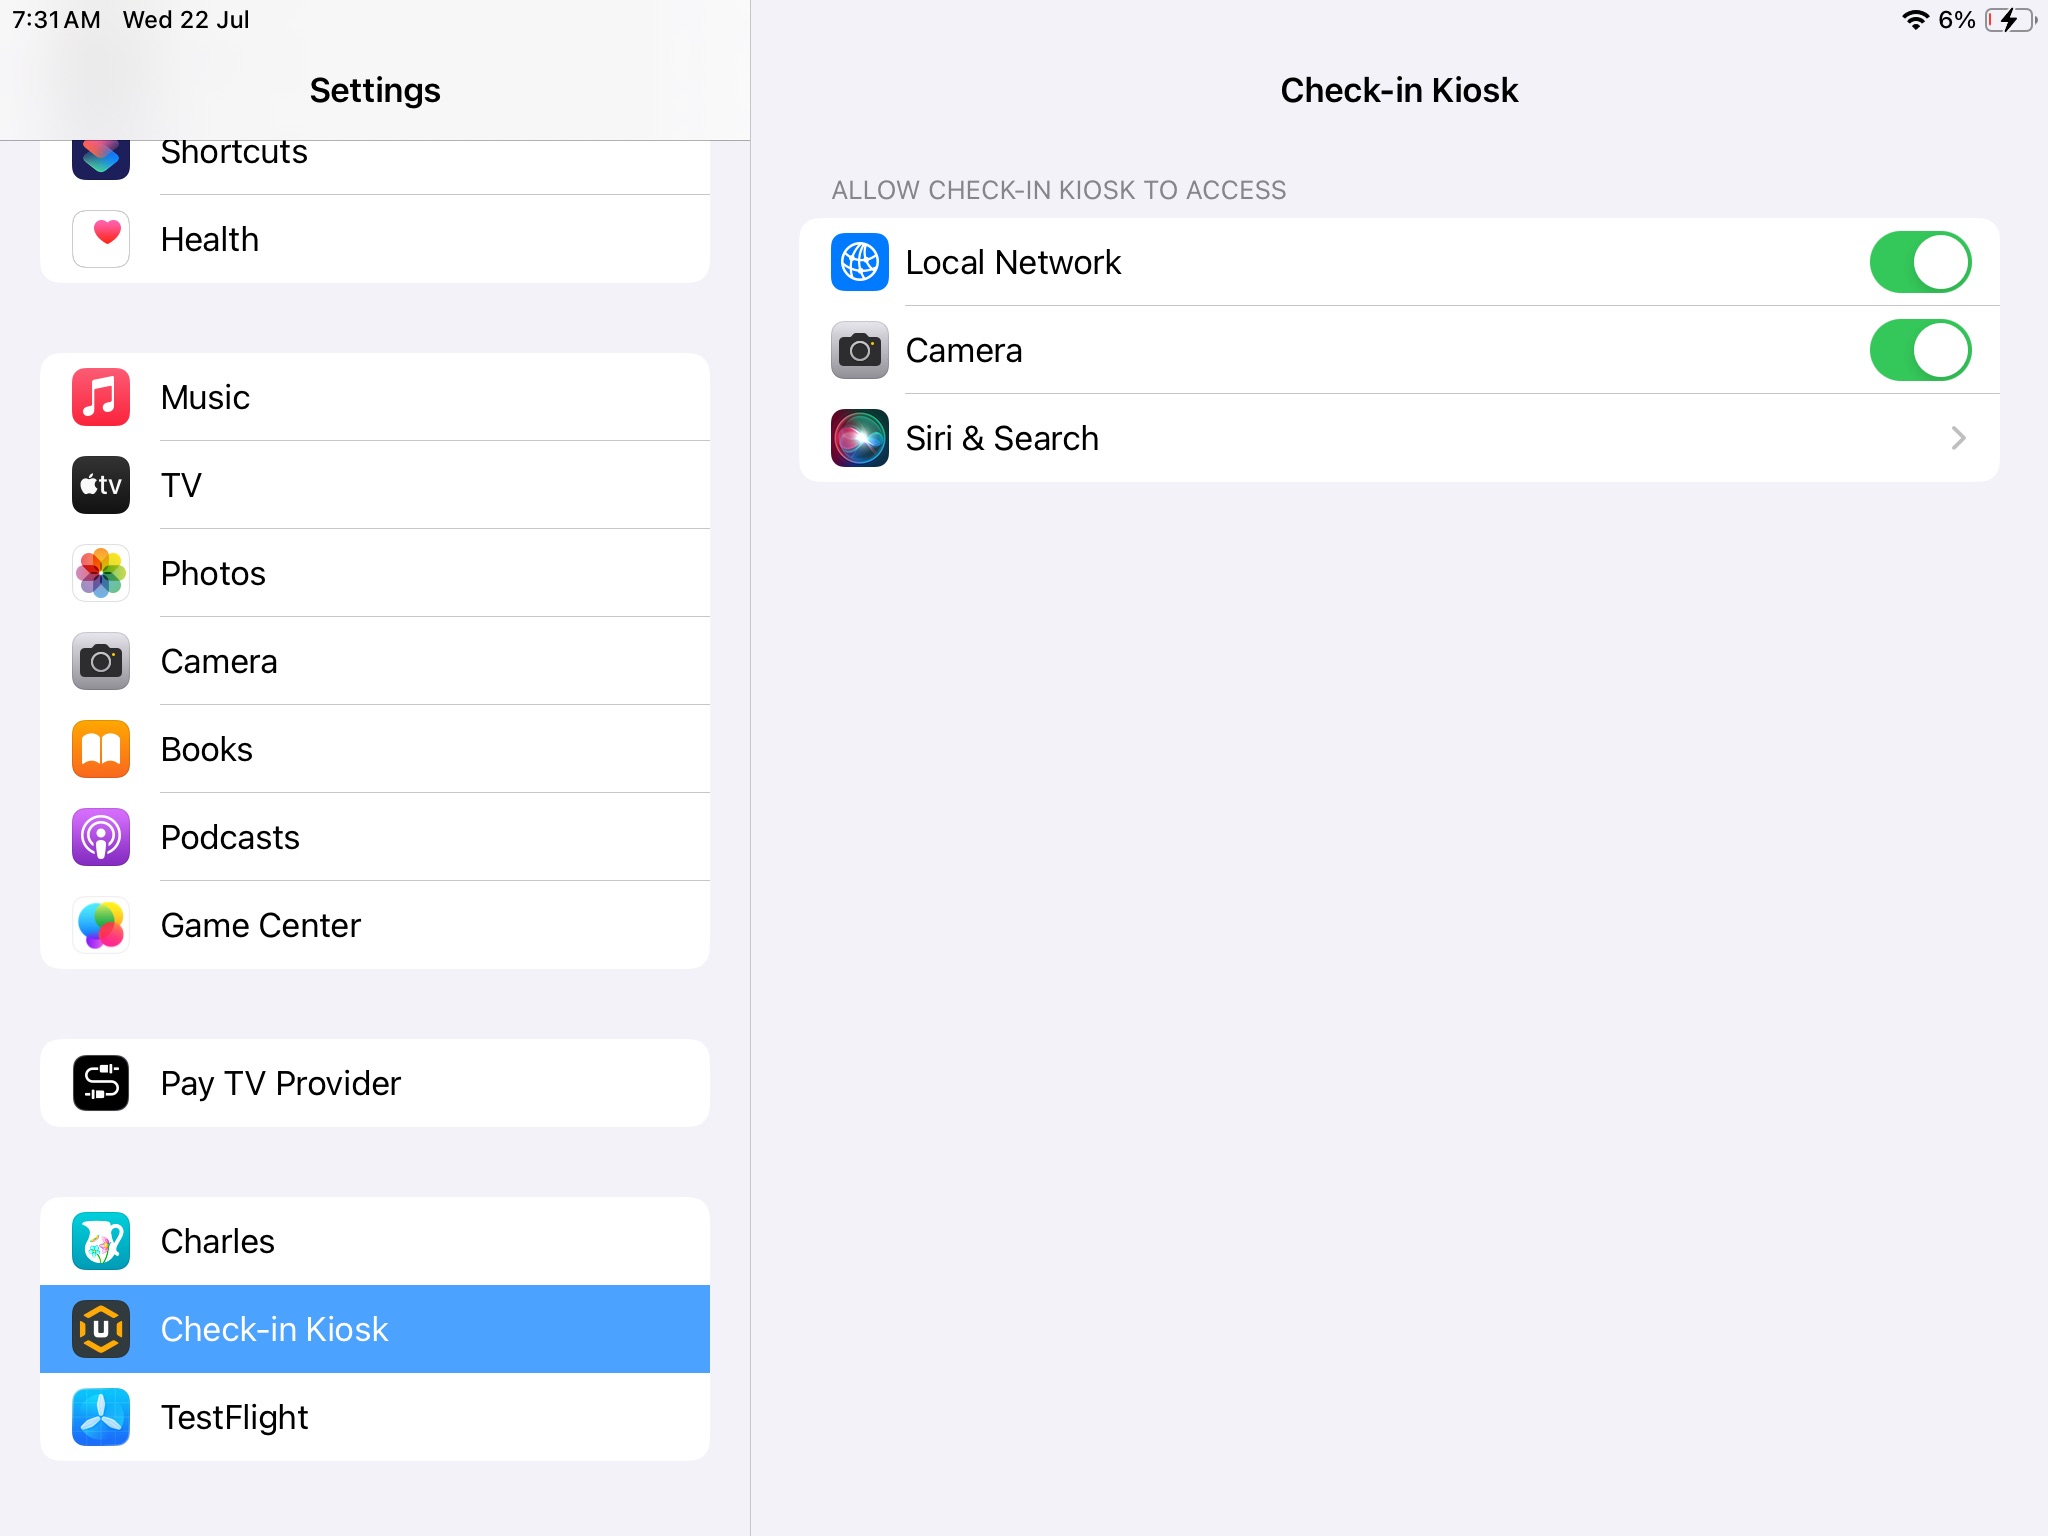
- If you are using gate trigger URL, on first check-in you need to allow 'Local Network Access'. If you have accidentally denied access, you can allow it through iPad settings
iPad App in the App Store
Allow Camera Access on first open of the app
Select Terminal after login
If using gate trigger allow 'local network access'
If camera of local network access were denied they can be enabled later in settings
All Done!